SMART Tool - Importing Students for the first time
Introduction
When setting up a school for the first time with EdAlive the best way to get started is to Import a student list. This will set up all your Student Accounts and set up Classes that Teachers can then be allocated to.
Getting Started.
From the School Administration menu choose SMART Tool.
Stage 1
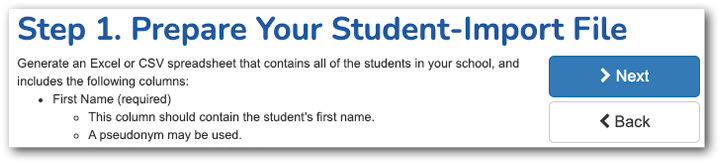
Export student records from your Student Information/Management System to a CSV or Excel file which contains all Students to be imported to EdAlive Central, formatted as follows:
- First name (required)
- Last name (recommended)
- Student ID (recommended)
- Class (recommended) – New classes will automatically be created.
- Password (optional) – if you would like to set each student’s password.
Stage 2
Press the Next button multiple times until you get to Step 2 and then select your import file and press the Next button.
Stage 3
The system will automatically add Students accounts and create Classes.
Stage 4
Review the new Classes that have been created and the Student Accounts that have been added to them and then press the Next button.
Stage 5
Check to see that changes are ready to apply. If you are happy with the update press the Save & Apply button.
Stage 6
Once the process is completed you will see the Manage Classes page where teachers can be added to their classes
Optional - Print Student Login cards
It’s a good idea to print Student Login Cards and a Class list for each Teacher from the View Class screen.